Naturally Clear: Herbal Remedies For Acne
- 13 Apr - 19 Apr, 2024
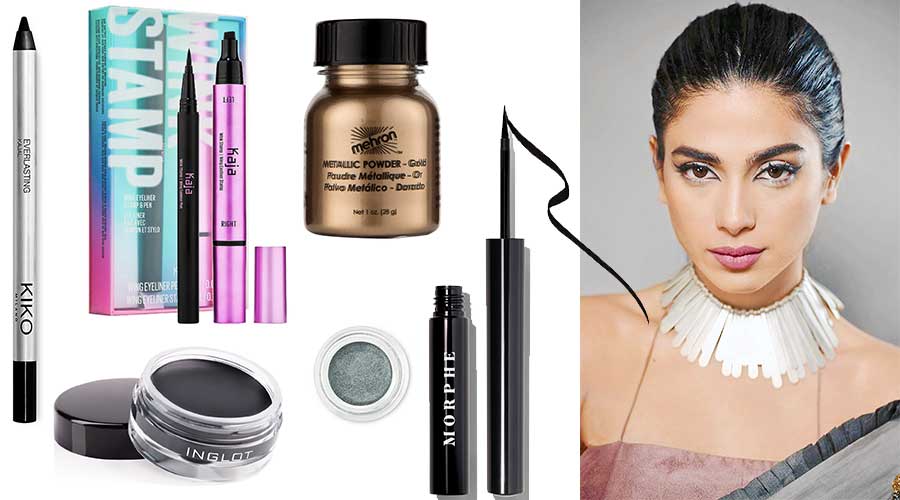
Winged eyeliner is a timeless and universally flattering beauty look worn by a raft of celebrities on the most dazzling of red carpets and on-screen in countless movies and TV shows by stars who are celebrated for their knockout make-up. But, it can feel like a daunting look to create at home without the right tools and tips. Here, we share a step-by-step guide to achieving the perfect cat eye.
Step # 1: Prep the eye area
Start by using an eyeshadow primer under your eyes and on the eyelids to create a smooth, even base for your makeup, and to help it adhere better. Curl eyelashes, if desired. Then apply a thin layer of foundation onto your eyelid, this will even out your skin tone around the eyes.
Step # 2: Top with eyeshadow, if using
Try a more subtle shade if you want your winged liner to stand out, or use a darker shade if you’re going full glam and combining a smoky eye with your winged liner.
Step # 3: Use Tape As A Guide Line
Place a section of tape, tucking it under your lower lash line and keeping it in line with your brow bone. This will act as a guide line for the wing! This is our all time favourite trick to making sure the wing is perfect.
Step # 4: Make the first line
Using an eyeliner brush, start by applying a thin line of the gel eyeliner along the lash line. Slowly start dragging the brush from your inner corner to your outer corner. If you’re having trouble getting a smooth line freehand, try making a series of small dots and then connecting them.
Step # 5: Wing it out!
To wing the liner out, using the tape as your guide, angle your line towards the end of your eyebrow. We tend to stop ours where our natural eye crease ends, however all eye shapes are different. In order to get your wing even neater, you may want to gently pull your skin at the outer corner. Depending on the occasion you may want a more dramatic wing so you can draw your liner out as much as you prefer. Remember the more times your draw over your liner, the darker the line will be come.
Step # 6: Line the upper eyelid
Using liquid eyeliner, draw a line across the upper eyelid, following the natural curve of your upper lash line from the inner corner of your eye to the outer corner of your eye and continuing to parallel the first line you made. Focus on creating a smooth line. It’s okay if there are gaps – you’ll fill them in later.
Step # 5: Fill out your wing!
Now that you have your outline, fill in the gaps with more eyeliner. Thicken the curve as you go making sure to marry it up with lines you’ve drawn. This may take a few practices but don’t worry. Grab a cotton bud and remove the wing to start over. Finally, remove the tape!
Remember practice makes perfect so if you don’t get it right first time, don’t be discouraged! Sometimes you may have to make one side thicker to get them looking symmetrical.


COMMENTS