12 Tips to Get Glowing Skin This Summer!
- 20 Apr - 26 Apr, 2024
No matter if yours are naturally wild or have been victims of over-plucking, perfectly shaped and groomed eyebrows are possible to achieve. So, if you’re struggling to keep your brows neat or can’t quite nail that perfect arch, it may be time to seek assistance. By learning the correct methods and techniques for shaping your eyebrows, you’ll be able to create the most flattering appearance for your face. So, before you go pulling out the tweezers and start attacking every little hair, take the time to brush up your skills and perfect your technique with this handy guide. Below, everything we learned on how to craft the most perfect brows. Read on:

First thing’s first: You need to figure out what you’re working with. Run the spoolie through clean, dry brows, brushing the hairs up. This will show you if there are any super-long hairs or if there are any holes that maybe brow hairs are covering up when in place.
Only trim the front area of the brow, and trim one hair at a time at a downward angle. The downward angle is important, because you want your brows to be fringy, not in a straight line.
Hold the spoolie brush in one hand, and the scissors in the other. When you push the spoolie through the brows it drags hairs up – that way you can see which are too long and easily cut them without risking over-snipping. Remember, length isn’t bad. Actually, it’s necessary sometimes to help get the perfect brow shape. You will probably only trim a few hairs, only the ones that are not cooperating.
Pro tip: If you’re nervous, run a little bit of gel through your hair and form the shape you want. This is an easy way to identify exactly what to trim. Then wipe it off again for the next step.
It’s anatomy time. All you need is to figure out where the brow should start, arch, and end. Your tweezers are your guide. Pinch your tweezers together and it makes a straight line that will help you know the perimeter of your brows. Once you’ve used them identify, it’s time to remove the hair that’s out of place.
First, hold it flush against the bridge of your nose. The vertical line shows where the head of your brow should start. This doesn’t mean get rid of any sprouts that hang over the other side of the line.
This might be the time to get those scissors out again and use them to do a little bit more trimming.
Next, you’re going to use your tweezers to make sure the top and bottom of the front of your brows align. The front of your brows is more important than it seems, it really makes an impression. People are really focused on the arch, but how the brow starts really visually indicates how your brow looks – if they are little wonky in the front it looks strange.
Place one end of your tweezers at the tip of your nose, slanting them diagonally to meet the corner of your eye. This line will show you where the tail of your brow should end. You want to avoid having brow on the temple because it will drag your eye down. For many, this is the area to always tweeze with caution – remove too many hairs and the ends of your brows might disappear.
Start with the brow that has a less pronounced arch and work toward having it mirror the other brow. Hold the skin taut, and slowly start to remove hairs. The arch is where you want to selectively reveal a part of the brow bone.
Finally, take a step back and look at your brows. If there’s anything that seems way out of place, remove.
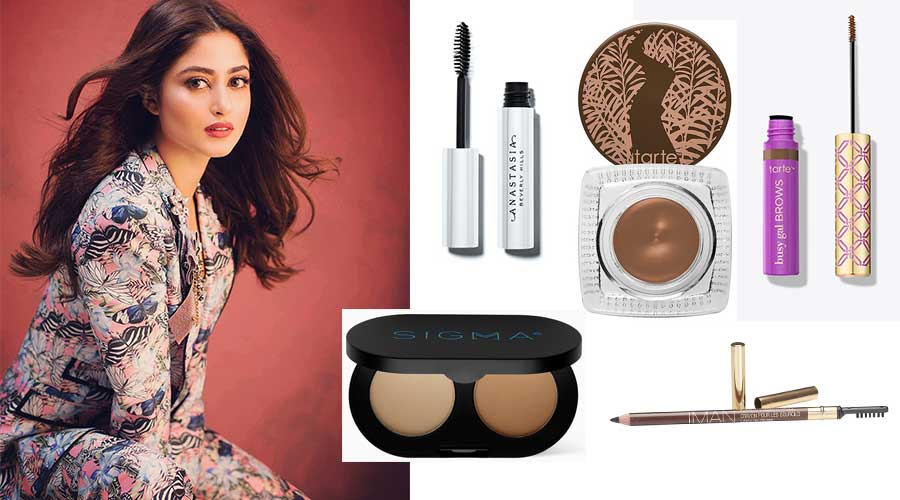
Pull out your favourite brow enhancing products and fill in your brows in the exact shape that you want them. Placing the colour intentionally will show you if you missed any stray hairs. Remove those hairs, and you finally have the full picture.
COMMENTS