Naturally Clear: Herbal Remedies For Acne
- 13 Apr - 19 Apr, 2024

If you've ever reached for your curling wand with effortless, beachy waves in mind, then you know that this look is only effortless in theory. While brushed-out waves might make it look like you just stepped off the beach without even running a brush through your hair, there's a lot of intentionality that goes into creating loose waves – especially if you don't want them to fall-out in the middle of the day. That's why ahead, we broke down foolproof methods for creating perfectly imperfect loose waves. Read on:
You might traditionally think of hairspray as a final step, but the key to getting waves that last all day is actually start the look with hairspray. (Think of it like a gripping primer you'd use before foundation application.) The first thing that we always do when we get brushed-out waves is spray the hair with hairspray to prep it. So, if your hair is already dry like ours, you should use the Tresemmé Micro Mist Hairspray in Extend, and just spray it throughout your whole head. No need to overdo it here, just mist lightly and evenly from root to tip (starting as close to the roots as you plan to curl).
Once you’ve sprayed your hair with hairspray, you’re just going to brush it through with a smoothing brush. Brushing through the hair helps to more evenly distribute the hairspray you applied in step one, and ensures that your hair is free of tangles and knots for optimal curling.
We recommend curling small sections away from your face. Smaller sections allow for more curl definition, as well as more even distribution of heat. Start by sectioning your hair into two or three sections (depending on how dense your hair is), working from the bottom section to the top section. Twist your hair, then wrap the twisted hair around the iron (this helps create more of the textured, beachy look). The key here is to keep your hair moving to avoid clamp marks from the iron.
As tempting as it is, don't touch or tug on your curls when they come off the iron, even if they look a little tight (we'll take care of that during the next step). Letting your curls cool completely is an important step to getting waves that last all day, so be patient and let them get to room temperature. While you're waiting for your curls to cool, you can mist your hair with hairspray to lock in the shape, especially if you have straight hair that doesn't tend to hold a curl.
Once your hair has completely cooled and you've applied a light, even layer of hairspray, go ahead and brush through your curls to create the loose waves effect. This will help separate your waves and create more of a fluid appearance, joining the separate sections you curled into a more cohesive style.
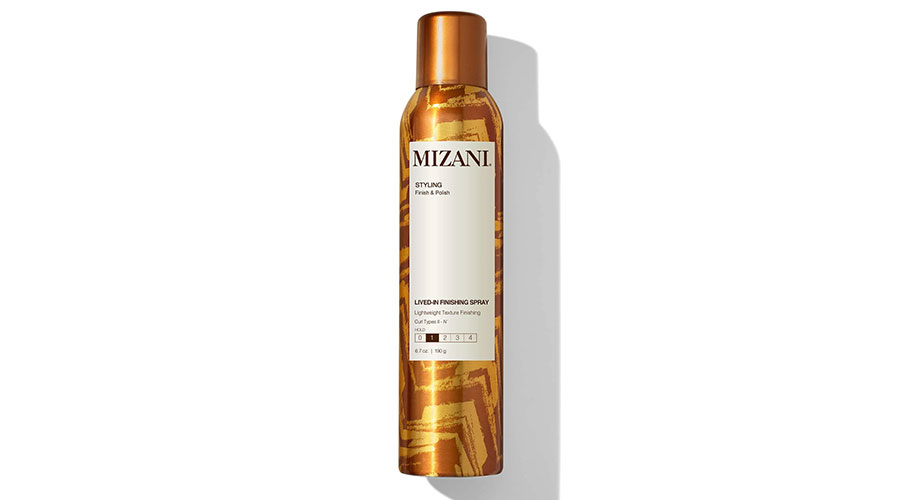
After you've brushed through your curls, it's normal for hair to get a bit fluffier or to see some frizz. That's why we recommend finishing the look with a touch of shine spray to tame frizz, smooth out your ends, and create an overall sleeker appearance. You can use Mizani Gloss Veil Shine Spray. It nourishes and softens the strands, plus it adds an extra boost of shine and weight to help hair stay manageable.


COMMENTS